Email signatures are a valuable tool for maintaining professionalism and conveying important information in your email correspondence. Microsoft Office 365's Outlook offers a straightforward method for creating and managing personalized signatures. This article will guide you through the process of creating email signatures for new emails and replies in Outlook.
N E W | O U T L O O K (and OWA)
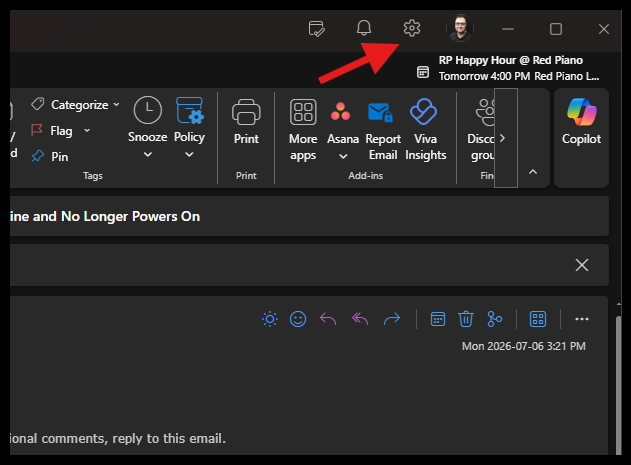
- Click the cog/gear on the top right.
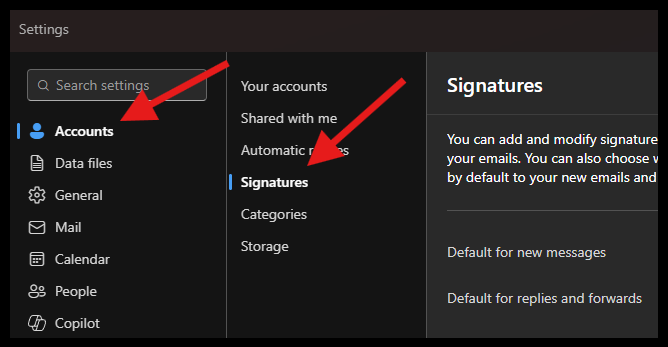
- Click Accounts and then click Signatures
- Type your name where it says TYPE YOUR NAME HERE, and paste your signature below with appropriate edits for you.
- Be sure "Set default for new messages" and "Set default for replies and forwards" are both checked.
- Click Save.

C L A S S I C | O U T L O O K
Step 1: Accessing Outlook's Options:
- Launch Microsoft Outlook.
- Click on the "File" tab located in the top left corner of the Outlook window.
- In the navigation pane, click on "Options." This will open the Outlook Options window.

Step 2: Creating a Signature for New Emails:
- In the Outlook Options window, select the "Mail" category on the left-hand side.
- Under the "Create or modify signatures for messages" section, click on the "Signatures..." button. This will open the Signatures and Stationery window.
- Click on the "New" button to create a new signature.
- Provide a name for your signature in the "New Signature" dialog box and click "OK."
- In the "Edit Signature" section, enter the desired text for your signature. You can format the text by using options like font style, size, color, etc.
- If you wish to include an image or a company logo in your signature, click on the "Picture" icon and browse for the image file on your computer. Adjust the image size if necessary.
- Customize the signature's layout using formatting options such as alignment, bullets, numbering, and hyperlinks.
- Once you are satisfied with the signature, click "OK" to save it.

After clicking Signatures, above:

Step 3: Creating a Signature for Replies:
- In the Signatures and Stationery window, select the email account for which you want to create a reply signature under "Select signature to edit."
- Click on the "New" button to create a new signature specifically for replies.
- Follow the same steps as described in Step 2 to customize the reply signature.
- After creating the reply signature, click "OK" to save it.
Step 4: Applying Signatures to Emails:
- In the Signatures and Stationery window, under the "Choose default signature" section, select the email account from the drop-down menu for which you want to apply the signatures.
- Choose the newly created signatures from the "New messages" and "Replies/forwards" drop-down menus.
- You can also choose to not use a signature or create multiple signatures for different purposes.
- Click "OK" to save the changes and exit the Signatures and Stationery window.

In the above screenshot, ensure that your created/saved signature is applied to both New Messages, and Replies/forwards.
Congratulations! You have successfully created and configured email signatures for new emails and replies in Microsoft Office 365's Outlook. From now on, your personalized signatures will be automatically added to your emails, enhancing your professional communication.
--- BELOW IS A SAMPLE YOU CAN COPY AND PASTE ---
|


Was this article helpful?
That’s Great!
Thank you for your feedback
Sorry! We couldn't be helpful
Thank you for your feedback
Feedback sent
We appreciate your effort and will try to fix the article